Sponsor: Do you build complex software systems? See how NServiceBus makes it easier to design, build, and manage software systems that use message queues to achieve loose coupling. Get started for free.
I started looking at the .NET Core CLI (Command Line Interface) a bit more over past couple weeks and figured I’d put together a blog and video covering the basics. I’m intentionally covering only the basics because the CLI is currently at “Preview 2” and is not yet RTM. Also, since we know the project.json is being eliminated before RTM, I didn’t want to dig into aspects like multi targeting different platforms and frameworks since that requires the project.json.Video Walk Through
I’ve created a short video which explains everything this post will, so if you prefer video walk through this is for you:.NET Core SDK
The first thing you need is the .NET Core SDK for Windows. The new vanity domain for .Net is now dot.net If you head on over there, you can download .NET Core SDK for Windows. There are a other downloads on this page, specifically you can get the Visual Studio Update which will include .NET Core. For the purpose of my example, since the intent is NOT to use full blown Visual Studio, just download the .NET Core SDK For Windows. You can install the SDK with all the defaults.Help
The easiest way to get usage information on the CLI and various commands is with--help
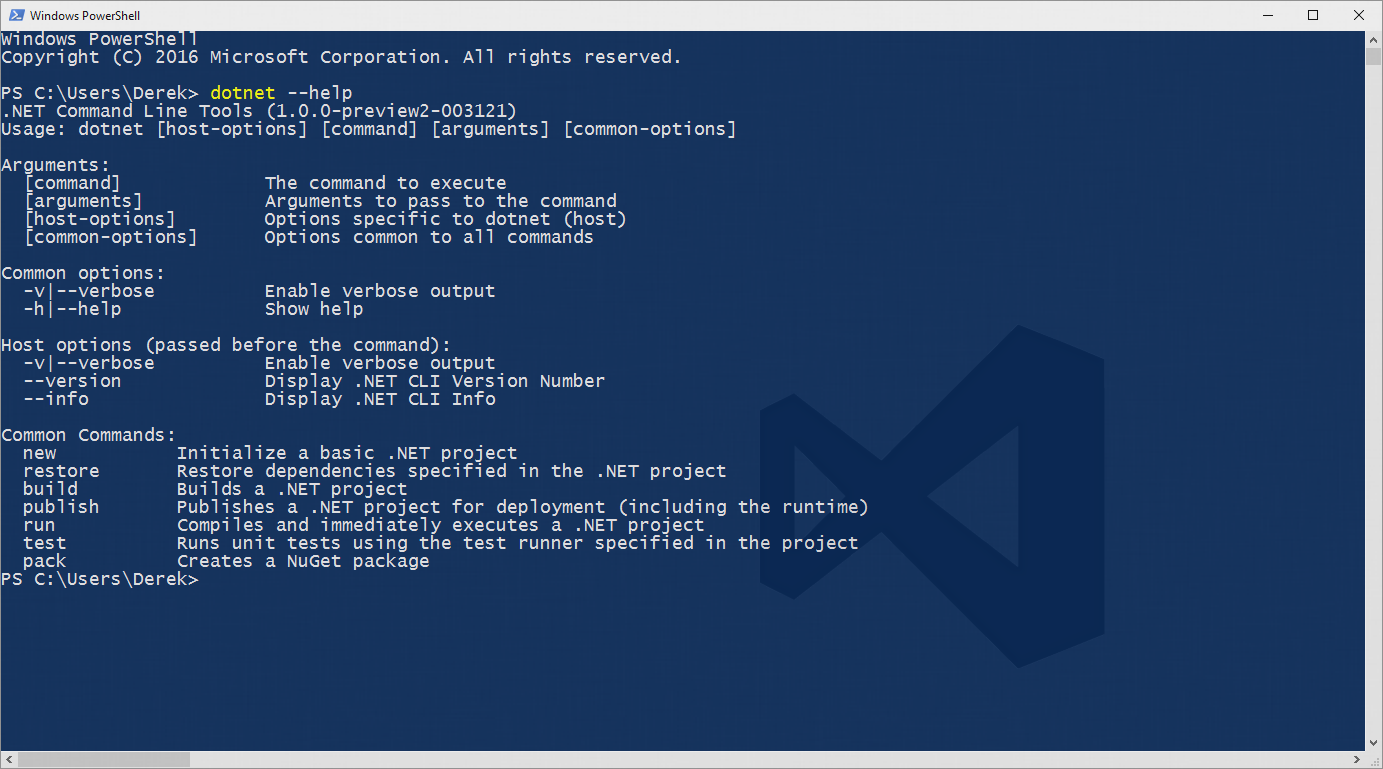 From here you can see all the common commands. For each command, you can generally type “dotnet [command] –help” to get usage infromation about a specific command.
New
An example of this would be for the “new” command. The new command creates the required files for a new .NET Core project. Basically creating scaffolding for your new project. If you are familiar with Yeoman, this is similar. To get usage information on the “new” command we would type:dotnet new --help

Restore
Since .NET Core is package based with NuGet, the natural next step is to restore all the NuGet packages for your new project. This command is basically using NuGet under the hood. You can specify where the restored packages will be placed but by default the .nuget/packages directory in your users home directory will be used for caching. In my case, on my local machine this would be:C:\Users\Derek\.nuget\packages
Run
Once you’ve restored all your dependencies, you can now run your app. The run command is just a shortcut for building and executing your application in one step. The run command uses the build command prior to launching your application. The run command is used in the context of your project directory and not the built output in your bin directory. Meaning you would run “dotnet run” from your project directory.C:\Users\Derek\HelloWorld>dotnet runIf you wanted to run the HelloWorld.dll in your bin directory, you would execute:
C:\Users\Derek\HelloWorld>dotnet bin/HelloWorld.dll